Creating Stunning Rose Arrangements from Your Own Garden
Roses are red, violets are blue . . but roses are also yellow, white, orange, pink, and just about every shade in between. (And violets are, well, violet). Creating a stunning and colorful rose arrangement from your own garden is easy when you have a green thumb, enjoy fresh cut flowers, and an eye for design.
Cultivating roses, especially in cool climates like the Northwest United States, takes a bit of know-how and the willingness to get your hands dirty. Planting various rose cultivars in your Northwest garden depends on what colors you like best and where in the yard they’ll get the most sunlight and wind protection.
A Rosy Start
With so many rose varieties available in nurseries and garden stores, choosing colorful favorites depends on your property’s soil type, sunlight, and moisture. What grows best?
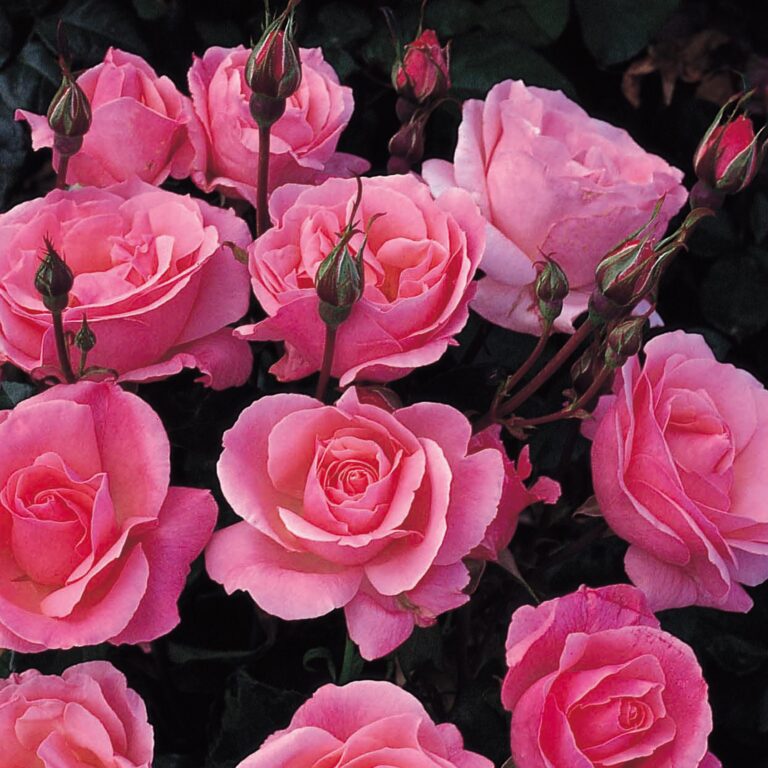
In the Northwest, some popular cultivars to grow include ‘John F. Kennedy’ (white blended fragrant tea roses), ‘Queen Elizabeth’ (pink hybrid tea roses), ‘South Africa’ (grandiflora yellow), and ‘Veterans Honor’ (deep-red hybrid tea rosettes) … just to name a few.
Whatever your rose fancy is, be sure the varieties are suitable for your USDA planting zone. In the Pacific Northwest, go native with roses that grow naturally—the PNW Wild Rose identification guide is one way to get started.
Snipping
Pruning rose bushes helps to keep them healthy throughout the year. Although many varieties grow from 3 to 6 feet tall, climbing roses can grow anywhere from 8 to 15 feet tall. Tall rose bushes and trees growing near or against the house can lead to a real mess—you may have to clean the gutters several times a year.
And Clipping
Clipping roses for flower arrangements starts with a keen eye for determining whether the bush is ready for a haircut. Some flowers are past their prime—although they may still look nice, they won’t last long in a water vase. Choose rose buds that have just started to open. (The outer petals look like they’re just beginning to spread their wings).
Before a rose-clipping session, get a pair of sharp pruning shears and a water bucket. (Sharp cutting shears ensure a cleaner stem cut).
- Cut roses early in the morning before the sun gets too hot. Dewy roses are fresher—you can water the flowers if necessary.
- Cut the flowers at a 45-degree angle. Snipping at an angle lets the stems absorb more water. Shorter stems in small vases help the rosebuds last longer. Tall vases are best for long-stem roses.
- Place the cut rose stems directly in the water-filled bucket. Keep the stem bottom moist as you’re cutting more blooms.
Get Creative!
Now comes the fun part: arranging your flowers in a unique-to-you way. Design your flower vases by color, texture, size, and fragrance. Add some ferns, baby’s breath, or “leather” leaves. Get started!
- Wash the vase with soap and water. If possible, run it through the dishwasher—hot water helps to kill off bacteria.
- Fill the vase with about three-quarters of water.
- Trim off the edges of each flower stem at a 45-degree angle. Cut the roses to fit the vase.
- Remove leaves below the water line. Thinning out the stems helps keep the water cleaner. Tip: Don’t cut off the foliage from the top of the water line. These leaves look pretty, and they help roses “drink” the water.
- Arrange the stems by color and size, but don’t put too many in one vase. Overcrowding keeps flowers from absorbing enough water.
Flower food provides nutrients. Packets generally include carbohydrates (for blooming), citric acids, and biocides (that limit bacterial growth).


Caring for Your Cut Roses
Fresh roses from your garden stay fresh when you pay attention to them.
Keep the flowers out of direct sunlight. The light creates more warmth than necessary, and that changes the water temperature. Place the vase in a cool area with filtered-to-no sunlight.
Change the water. Every day is ideal, but cold fresh water can put the stems into a type of flower shock. Pour out most of the old water but leave some in the bottom of the vase before adding more. Add more plant food as necessary.
Trim the bottom of the stems (at a 45-degree angle) every few days. Snip the stems about a half inch to an inch off the bottom. New cuts allow for better nutrient absorbency.
Flowers are nature’s “happy sticks.”
The colors, textures, and fragrances tend to make us smile, especially when they’re growing in our own gardens and landscapes. From outdoors to indoors, creating your own floral oasis is a way to bring happiness and joy to your life.

Teri Silver is a journalist and outdoor enthusiast. She and her husband live on 5 acres with a vast lawn, three gardens, a farm, a pond, many trees, and a lot of yard work! The best parts of the year are summer and fall when home-grown veggies are on the dinner table.